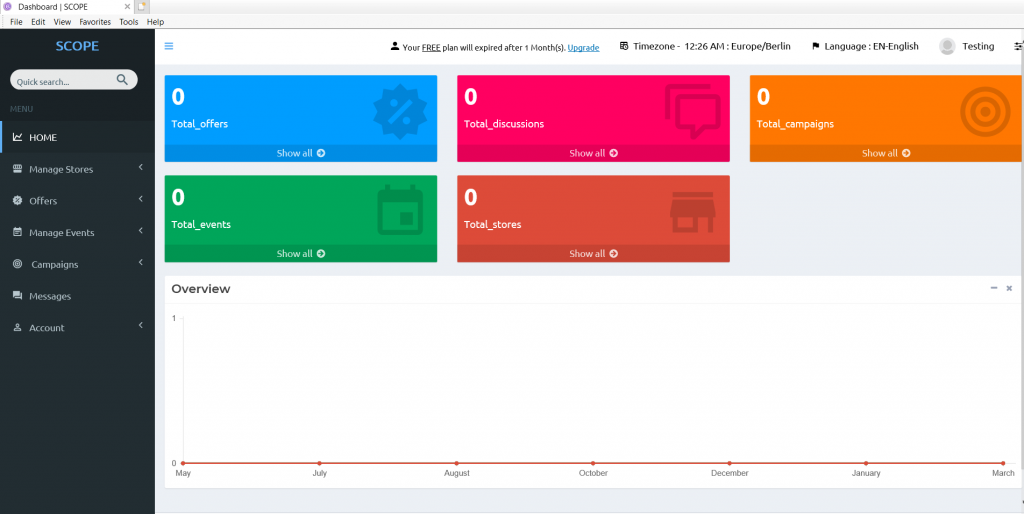
Scope advanced user-friendly dashboard helps you to manage your business in a professional way to communicate your recent offers or events to a huge number of customers fast and therefore raise and increase your revenue.
Close menu
Add an Event
Add an Event
Whenever you want to hold an important event related to your business, you can add its detail to SCOPE to be communicated to a large number of interested customers.
In this tutorial, you will learn how to add a new event using SCOPE’s dashboard. The event will be added to the mobile applications where all SCOPE’s users can see it. Be sure to prepare all your event information, with some professional images for it.
1. First Step.
Go to Scope website and Login using your Scope Business Account. If you do not have an account, read how to create an Account on Scope.
2. Second Step.
From the left sidebar, open “Manage Events” and press on “Add new”.
3. Third Step.
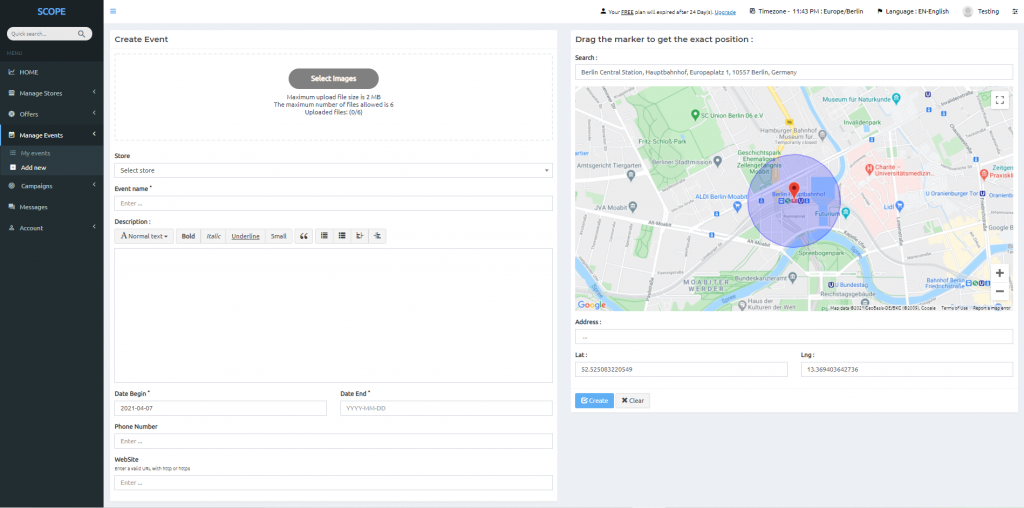
Now A new page will open where you can add all your event information.
4.th Step.
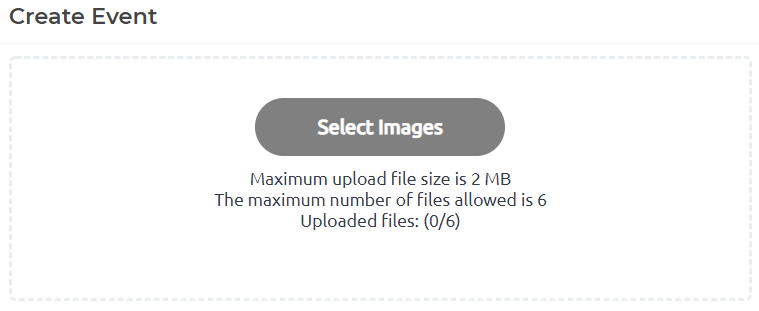
Start by uploading some attractive images for your event to attract customers. (You can add up to 6 images, each one’s size not more than 2MB)
5.th Step.
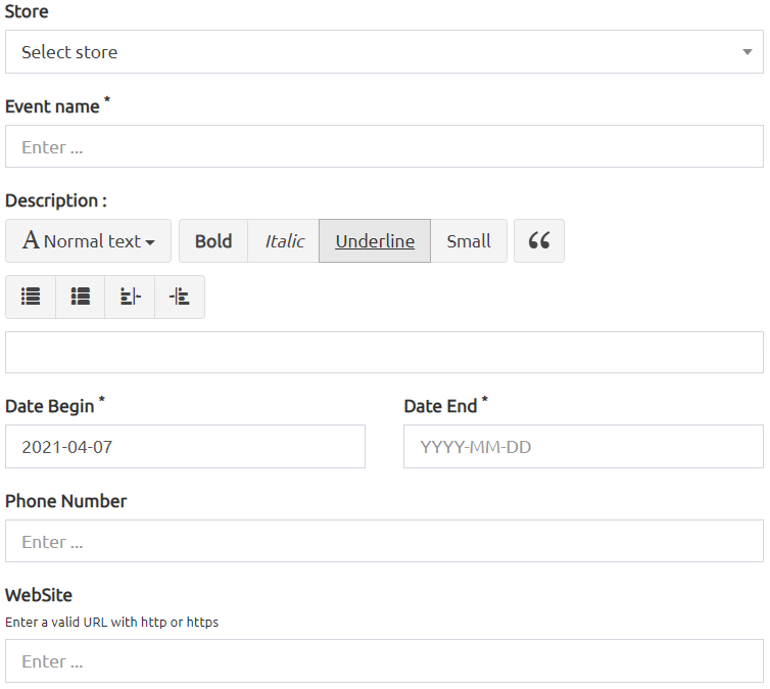
Select the store where this event will occur, and write the name of this event, its description, when this event will start and its end date, the phone number, and finally, the event website if available.
6.th Step.
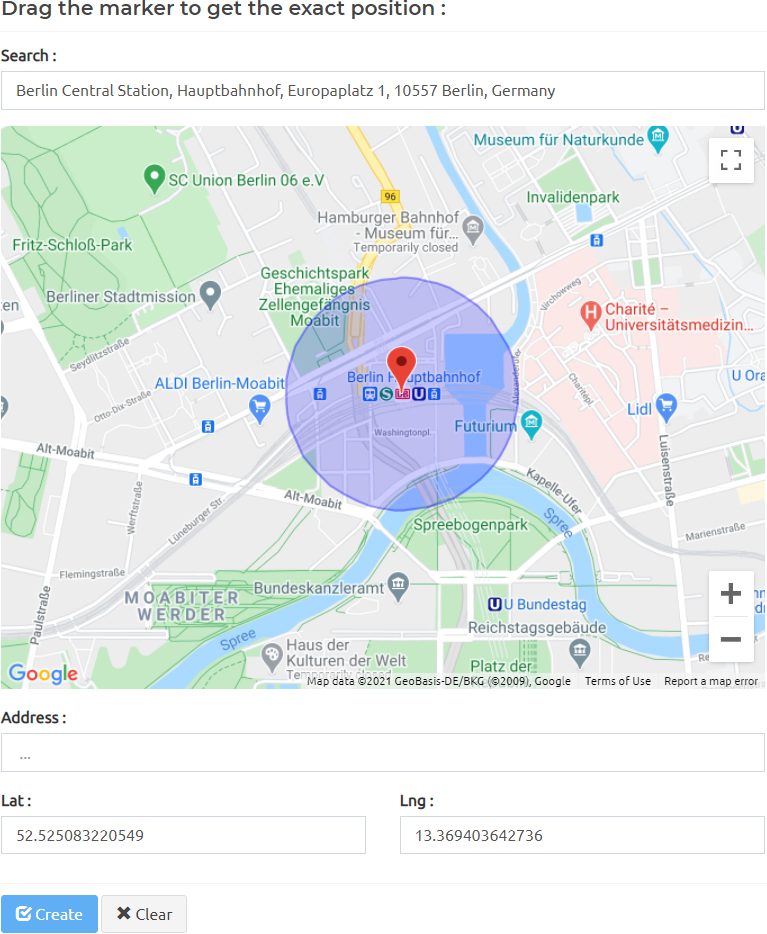
Finally, enter the location where this event will take place, just drag, and drop the marker on the map to the event location, then in the “Address” field, enter the address that will appear on the SCOPE application.
7.th Step.
Press create and wait for our confirmation (which will take up to 24 hours). Then your event will be available to all SCOPE users.